
THE EDITING PROCESS
- Irina Cuc
- Mar 19, 2021
- 1 min read

Updated: May 6, 2021
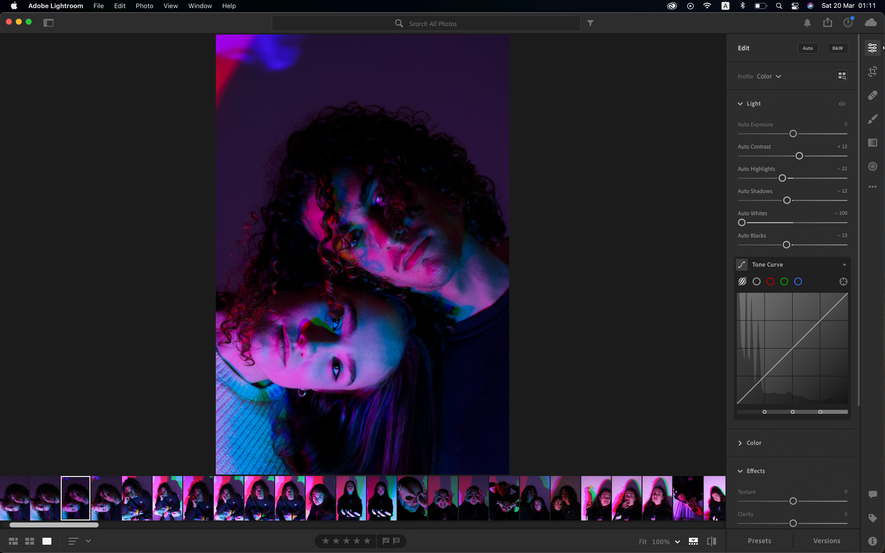
After choosing the final pictures, I went onto editing, I uploaded them all in Lightroom and edited most of them. Some I had to take into photoshop to take out imperfections or edit backgrounds. I also followed some tutorials online to help me along the way.
This is one of the more complicated edits I've done, where I had to recreate the background. I did this in Photoshop and Lightroom, with the help of online tutorials an information, and it took around 1 and a half hours. Below you can see how it turned out.


I've also created some presets as most were similar so their edits were similar.


Below you can see some examples of before and after pictures, just to show how much editing and what kind of editing I chose to go for.
BEFORE AFTER


BEFORE AFTER


BEFORE AFTER


BEFORE AFTER


BEFORE AFTER


BEFORE AFTER


BEFORE AFTER


For the "Carre-Free" photoshoot, I found most appropriate to edit most of the pics black and white as I thought it would balance very well together with the other colourful shoot. The edits are more on the grunge side and they look very tough, but I think overall they look good:)
For the "Revolutionary Minds" photoshoot, editing was very simple, I didn't have to do much as the light was already very strong and the raw pictures were really good, however I did play with lighting and exposure a little and changed some other small aspects. Overall, they look very similar to before but still a bit enhanced.
Comments